|
Home | About W. E. Wells | Photograph Gallery | Gift Store
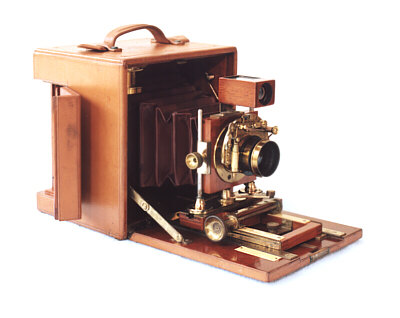
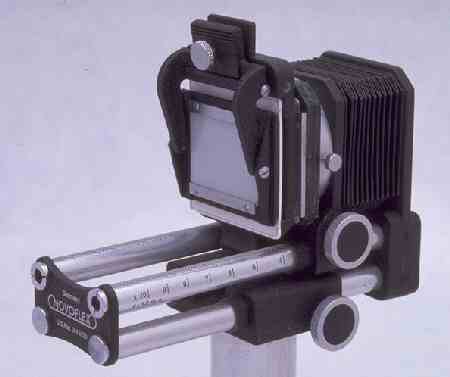
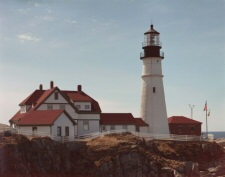
Taking the 4x5 photosAs I said on his bio page, my father used a large 4x5 camera to take the lighthouse photos. We used to take it with us to church on Sundays and after service grab a bite to eat and then head out to photograph a lighthouse. Because the process of taking the photos took so long my mom and I would explore nearby forts or fly a kite while the photograph was being taken. It seems like the 4x5 camera has been around forever. There’s an antique one here that was made in 1896. All 4x5s sort of have the same design though. Let’s have a look at the antique one and I’ll explain from there.
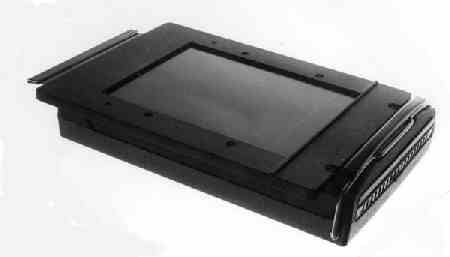
You can see from this perspective that there is a small lens at the front, followed by some connecting material and then the main body of the camera. Their deceptively simple devices. In the main body of the camera is a large plate of film that is about 4 inches by 5 inches, and then behind that is a huge viewing window so the photographer can see what their looking at. On my dad’s camera that view was actually upside down due to the way the optics worked.
As you can imagine, aiming the photo must be quite difficult with it upside down! And with the outside photography there were a host of other issues to consider, such as people in front of the camera, clouds in the sky, wind affecting things in the photo such as flags, and the ever present fear of getting drenched by the ocean or a sudden rainstorm. It took a great deal of patience to get accurate photos which took about 45 minutes per photo. My dad would often take several photos of the same lighthouse, just to be safe.
Often times repeats were needed after seeing the photo once it had been developed and noticing any issues that hadn’t been caught in the original process. Flaring occurred often!
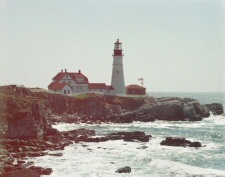
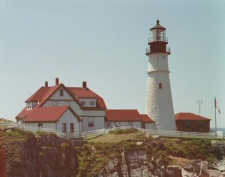
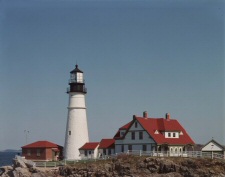
After all of that the perfect photograph hopefully was produced, and then the negative was sent off to a company that would develop it. However, instead of developing it onto a piece of photographic paper, they would put it onto a sheet of canvas and then set that into a wooden frame. Those then would be sent to the stores for purchase by customers! These days we can just digitize the photograph and have a company like cafepress.com take care of it all, hence you get the Portland Head Light store! I hope you’ve enjoyed this introduction to taking the photographs. If you have anymore questions please don’t hesitate to email and ask. I’ll do my best to find an answer for you.
|